


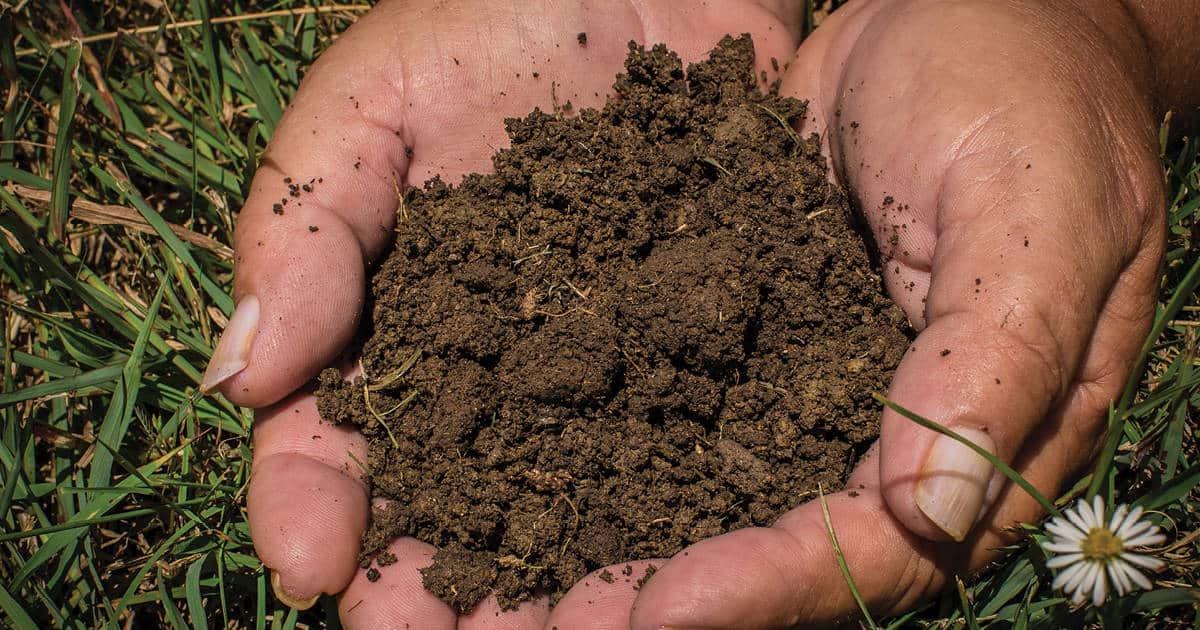
DIY Soil Tests.
In this Equine Permaculture series, we ‘dig deeper into soils’ and, to date, we have explored what soils are, how soil is formed, the different types of soil and how they sustain life through the soil-food-web.
If you missed those articles, you can find them by clicking on Part 1 and Part 2
In the following parts, we focus on the importance of soil tests – in the lab and DIY – interpreting these soil test results, and, finally, in our last part, we will explain how these tests can help your property’s soil and pasture management.
In Parts 1 and 2, we learned soils are complex mixtures of minerals, water, air, organic matter, and numerous micro and macro-organisms that are the decaying remains of once-living things.
Soil forms at the surface of land – it is the ‘skin of the Earth’, it supports plant life and is vital to life on Earth. Although we know taking care of our soils will help us grow healthy pastures to feed our horses, soil continues to be overlooked, underrated and taken for granted.
How much do you spend, as a horse and property owner, getting to know your soils – reading up on soil facts – compared to the time you spend planning and managing your pastures?
The importance of soil testing
Soil testing or analysis is a valuable tool for your farm. It determines the current condition of your soils, and the inputs that may be required to improve soil health and fertility.
Soil fertility is determined by the soil’s chemical, physical and biological properties. Some properties, such as soil texture, colour and structure are visible to the eye. However, the chemical composition of soil needs to be measured. This is why soil sampling and testing is essential.
Soil tests are used to determine the soil’s nutrient content, organic carbon content, pH level and even microbiology. Armed with this information, you can define the exact type and quantity of fertiliser that will improve your soil. This is important because healthy, fertile soils grow healthy, fertile pastures.
Soil testing can also be used to check pastures are not over-fertilised. Many nutrients tend to be over-applied – resulting in imbalances in the soil and harmful effects on the environment.
For example, an excess of nitrogen can cause leaching and groundwater contamination, or contamination of waterways from run-off. We see the effect of the latter with algal blooms in dams and waterways.
In addition, over-fertilising can cause problems with excessive growth of high-producing pasture species that are not always ideal for managing ‘good doers’, or horses in maintenance or light work.
Over-fertilised pastures have also been linked to an increase in plant and fungi toxins, which can cause health problems in horses. To learn more, read the ‘Your Pasture Pharmacy’, available on the Horses and People website.
While it is best to get to know your soils with a comprehensive laboratory analysis and soil report, you can also do some of the basic tests yourself! Keep reading…
Taking soil samples
Soil conditions vary from paddock to paddock and region to region. Each paddock should be considered on a case-by-case basis when making soil and pasture management decisions.
For a soil test to provide a reliable guide to the condition of your soil, the sample tested must truly reflect the soil in the area sampled.
If the soil type varies within the area to be tested, sample the predominant soil type only.
Choosing an area to sample
Areas with major soil type variations, or that differ in appearance, pasture growth or past treatment should be sampled separately – provided the area can be treated separately. A pasture/soil map or satellite image can be helpful in distinguishing areas, and in recording where the samples were taken.
Once you’ve selected the area to be sampled, use one of the following patterns to take between five and 10 cores at regular intervals: network (a), Z-scheme (b), diagonal (c) and in rows (d).
The minimum recommended is five to 10 cores per sample. The more cores, the more representative the sample will be – and more accurate the results.
Choosing the core sites
Although you may be following a set pattern, the cores should be taken from sites of average pasture growth.
You should avoid sampling areas of bare ground (unless they are predominant) and where there is very good growth (the ‘roughs’, which have an excess of urine and manure).
Stay 10 metres away from contaminated or deceptive parts, such as the area around gateways, farm or animal tracks, loafing areas, sheds, fence lines, troughs, trees, fertiliser and lime dumps.
Avoid the bottom of gullies and water holding depressions, areas where timber windrows have been burnt and extremely wet soils.
Taking the cores
There are several different tools you can use, such as an auger and sampling tube, but a clean spade works just as well. It is important you use a clean, plastic bucket to collect your core samples, because a metal one can contaminate the sample for trace element analysis.
At each sampling site, remove all surface material, such as pasture or weed growth, and surface litter, to expose the bare soil and take a uniform slice of soil about 20mm thick to the required depth.
Core depths of 100 mm (3-4”) are recommended for pastures. Subsoil (deeper cores) sampling can also be beneficial to determine deeper storage of nutrients (for deeper, tap-rooted plants) and in areas where salinity, acidity or heavy metal contaminations are suspected in the soil.
Repeat at each core site until you have at least five to 10 core samples in your plastic bucket.
Break up clods and mix thoroughly, then spread the total sample from the bucket evenly onto a clean surface. A plastic tarp works well (make sure you pin it down on windy days or find a sheltered area!).
By this time, you will probably have more soil than you need for analysis (the typical requirement is between 200-300g). Although, if your budget allows, you should duplicate the samples for better accuracy.
To reduce the sample size, but maintain a good representative sample, divide the total mix into quarters, discard the two diagonal quarters and remix the remains, then continue this reduction process until you achieve the amount required for the soil.
Remember also, as well as bagging and sending a sample to a laboratory for a comprehensive report, you can DIY soil tests at home, so keep some soil separately for that purpose. Keep reading to learn how to do this…
Place the sample into the bag, label it with all relevant details, and number or code it, so you can keep track of your sample bags. Include details such as name, address, date of sampling, site of sampling, depth of sampling and, if applicable, any fertiliser details. Some soil labs offer sample kits and soil bags, but ziplock or plastic bags work just as well.
For a laboratory analysis, you will have to fill out a form with all relevant details and you will have to select your analysis package. These packages are tailored to specific soil types or are based on the number of tests conducted to provide you with either standard or more comprehensive details. We will discuss lab soil testing in the next issue.
Now you have collected your samples, let’s use some for our at-home, DIY soil tests!
DIY soil tests
If you search online, you can find many soil or garden websites that offer you DIY soil testing kits and even online testing tools. These can be very useful, but the quality and costs of testing kits may vary. Alternatively, there are low-cost solutions for doing basic tests yourself using limited tools.
1. Squeeze test – composition
One of the most basic characteristics of soil is its composition. In general, soils are classified as clay soils, sandy soils or loamy soils (check Part 1 of this series).
Clay is nutrient-rich, but slow draining. Sand is quick draining, but has trouble retaining nutrients and moisture. Loam is generally considered to be ideal soil, because it retains moisture and nutrients, but doesn’t stay soggy.
To determine your soil type, take a handful of moist (but not wet) soil and give it a firm squeeze. Then, open your hand. One of three things will happen:
- It will hold its shape and, when you give it a light poke, it crumbles. Lucky you… This means you have loam!
- It will hold its shape, and, when poked, sits stubbornly in your hand. This means you have clay soil.
- It will fall apart as soon as you open your hand. This means you have sandy soil.
Now you know what type of soil you have, you can work on improving it.
2. The compaction test
Plunge a wire flag vertically into the soil at different locations. Mark the depth at which the wire bends. The sooner it bends, the more compacted the soil. A foot or more of easily penetrable soil is ideal for healthy pastures.
Compacted soil inhibits root growth, water availability, and keeps earthworms and other vital soil fauna from circulating freely. It is, therefore, important you work on de-compacting your soils before even attempting more soil tests! See our previous article on how to de-compact horse pastures at: Renovating Damaged Pastures and Soils
3. The percolation test
It is also important to determine whether you have drainage problems or not. This one is often related to compaction problems. Good infiltration gets water to plants where they need it (at their roots), prevents run-off and erosion, and let’s air move more efficiently into soil pores. Water-logged soils/pastures can cause problems with building up of weeds and anaerobic bacteria.
To test your soil’s drainage:
- Dig a hole about six inches wide and one foot deep.
- Fill the hole with water and let it drain completely.
- Fill it with water again.
- Keep track of how long it takes for the water to drain.
If the water takes more than four hours to drain, you have poor drainage and this could be an indication of compaction.
4. The pH test
Knowing the pH of your soil will help your pasture plants grow by absorbing nutrients better from the soil. Their ability to do this depends on the nature of the soil and its combination of sand, silt, clay and organic matter.
The makeup of soil (soil texture) and its acidity (pH), as well as the abundance of micro-organisms, determine the extent to which nutrients are available to plants.
pH is tested on a scale of zero to 14, with zero being very acidic and 14 being very alkaline. Most plants grow best in soil with a fairly neutral pH, between 6-7.
When the pH level is lower than five or higher than eight, plants just won’t grow as well as they should. pH testing can be done with soil pH kits or pH probes. These kits are fairly accurate, but you must make sure you follow the testing instructions precisely.
Alternatively, there are two other ways you can test the pH yourself without kits or probes! Keep reading…
Option 1: Vinegar and baking soda pH DIY soil tests
Collect one cup of soil from different parts of your pasture (use soil you collected for sampling) and place two teaspoons of soil into two separate containers. Add 1/2 cup of vinegar to the soil. If it fizzes, you have alkaline soil with a pH between 7-8.
If it doesn’t fizz after doing the vinegar test, then add distilled water to the other container until the two teaspoons of soil are muddy. Add 1/2 cup baking soda. If it fizzes you have acidic soil, most likely with a pH between 5-6.
If your soil doesn’t react at all, it is neutral with an ideal pH of seven and you are very lucky!
This test is fun to do. After you added vinegar and you do not observe a reaction in your bowl, don’t think your experiment didn’t work! You can do a check by adding distilled water to another bowl of soil and pour on just a sprinkling of baking soda. You get instant fizz! It just means you have acidic soil.
Once you know whether your soil pH is a problem or not, you can begin working to correct the problem.
Option 2: Cabbage water pH DIY soil tests
Measure two cups of distilled water into a saucepan. Cut up and add one cup of red cabbage. Simmer for five minutes. Remove from heat and allow it to sit for up to 30 minutes.
Strain off the liquid, which will be purple/blue. This will have a neutral pH of seven.
To test, add two teaspoons of pasture or garden soil to a jar and a few inches of cabbage water. Stir and wait for 30 minutes. Check the colour. If it turns pink, your soil is acidic. If it is blue/green, your soil is alkaline.
These tests give you some indication if you are dealing with problem soils, which may be one of the reasons why you won’t be able to grow certain pasture species or why you have weed problems.
In the last part of this series, we will discuss in more detail how you can restore your soil’s (pH).
5. The worm test
Worms are great indicators of the overall health of your soil, especially in terms of biological activity. If you have earthworms, chances are you also have all of the beneficial microbes and bacteria that make for healthy soil.
To do worm DIY soil tests:
- Be sure the soil has warmed to at least 13 degrees and it is at least somewhat moist, but not soaking wet.
- Dig a hole one foot across and one foot deep. Place the soil on a tarp or piece of cardboard.
- Sift through the soil with your hands as you place it back into the hole, counting the earthworms as you go.
If you find at least 10 worms, your soil is in pretty good shape. Less than that indicates there may not be enough organic matter in your soil to support a healthy worm population, or that your soil is too acidic or alkaline.
6. Soil organisms
Measure the animal life in your soil by digging down at least 15cms and peering intently into the hole for a few minutes. Tick off the number and species of each organism observed, such as centipedes, ground beetles and spiders.
Because most soil organisms spurn daylight, gently probe the soil to unearth the shy residents. If you count less than 10, your soil does not have enough active players in the food chain.
A thriving population of diverse fungi, bacteria, insects and invertebrates is one of the most visible signs of soil quality. The more that creeps and crawls under your pasture or garden, the less opportunity there is for pests and disease.
Each level of soil life does its part to break down plant residue and make more nutrients available for plant growth. See our previous article on soil-food-web interactions at: All About Soil. Part 2, The soil food web to learn more.
7. Plant residue
If you have good grass cover, dig down 15cms into the soil and look for plant matter at that depth. The range of organic material is important to notice here. The presence of recognisable plant parts, as well as plant fibres and darkly-coloured humus indicates an ideal rate of plant decomposition.
The single most important component of healthy soil is organic matter. But, plants and other organic materials decompose only when soil organisms are there to do the work. Any sign of this process is a good sign, but the speed of decomposition is important too. Fast decomposition is another indicator of soil quality. In poorly-aerated soil, plants break down slowly – a condition that gives off a faintly sour scent.
8. Plant vigour
Start this test during the active growing season, and look for healthy plant colour and size that’s relatively uniform. Overall health and development must be judged based on what’s considered normal for your region, but will also depend on local weather conditions.
Plant vigour indicates soil with good structure and tilt, a well-regulated water supply and a diverse population of organisms. It’s, by far, the best sign of effective soil management you’ll have above ground.
9. Root development
Use a shovel or hand trowel to dig gently around a selected plant; if you choose a weed, you won’t miss. Once you’ve reached root depth, pull an annual plant up and check the extent of root development, searching for fine strands with a white, healthy appearance. Brown, mushy roots indicate serious drainage problems. Stunted roots might also indicate disease or the presence of root-gnawing pests. When you look at the roots, you can really see what’s going on.
Roots have the most immediate connection with and reliance on soil quality. Without air, water, biological activity and crumbly soil to grow in, roots can’t do their job.
Summary
Learning as much as you can about your soil will help you decide what needs to be done to make it ideal for the pasture plants you want to grow (and outcompete weeds!). The above-mentioned DIY soil tests are easy and fun to do, and are a good start to gain some information about your current soil condition and what you may have to improve.
Of course, if you want a more comprehensive analysis of your soils, you will have to send your samples to a certified soil laboratory.
Search online for soil services in your region or state, although many offer national services. They will provide information about collection of soil samples and sending it into their laboratory for analysis.
Based on the package chosen, they will return a report that will alert you to any nutrient deficiencies in your soil. The pricing of soil tests will depend on the package chosen. Basic soil tests will be relatively cheap around $50. However, a microbiology tests can be as high as $250-300 per sample. Often, the labs also provide additional consulting services and advise steps to correct the issues observed.
Alternatively, you can also work with an agronomist or soil scientist who do all the work for you and produce a recommendation report. There are many options, depending on your time and budget!
We will discuss some of the soil parameters and lab results in the next part of this series.
[wpdm_package id=49052 template=”link-template-button”]
This article about DIY soil tests was published in Horses and People April 2018 magazine.


Trackbacks/Pingbacks